↔️ Pivot Position Bench: step-by-step build
Two equal beams hang from different holes: compare their gravity lever arms.
Two equal beams have different reasons to return: moving their pivot hole changes the distance to their centre of mass. This original supported pendulum bench separates gravity’s restoring action from active balancing. Two rigid posts carry a retained axle; two round-hole beams rock independently between separate spacer pairs. Inspired by Brick Experiment Channel’s inverted-pendulum demonstration, not a replica of its powered control system.
- Level 2 of 5 (easy)
- About 20 minutes
- 11 steps, 24 parts
- Powered by: Gravity
- Series: Starter Builds
What you will learn
- Pendulum: A swinging weight keeps steady time.
- Centre of Gravity: Keep the heavy stuff low and in the middle and your model won't tip.
- Torque vs Speed: Slower gears are stronger gears.
- Axles: An axle is a cross-shaped rod — anything on it turns together.
- Bushes & Spacers: Bushes stop things sliding off an axle.
- Frames: A frame is a ready-made strong rectangle.
- Pins: Grippy or Smooth: Pins join beams together — some hold tight, some let things swing.
Build these first
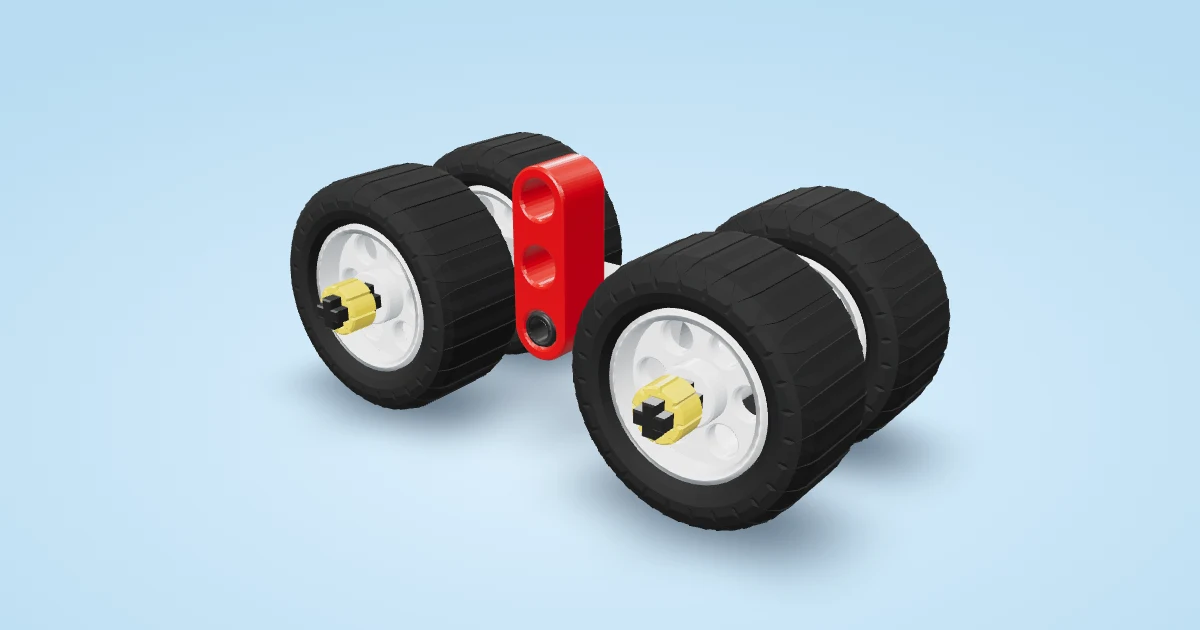 🚗 Tiny Roller: Your very first rolling car — only 13 pieces! (level 1 of 5, about 5 minutes, 6 steps)
Parts you need
- 1 × Open frame 5×7
- 4 × Blue long pin
- 4 × Split pin block
- 4 × Red axle-pin
- 2 × Beam 11
- 1 × Axle 12
- 6 × Half bush
- 2 × Beam 7
Steps
- Lay the 5×7 frame flat on a level table. Its two short ends will carry separate rigid posts.
- Insert two blue long pins upward through the second and fourth holes of the back short end. Fit two split pin blocks one above the other onto the same pins.
- Put a red axle pin in each back block’s centre cross hole, pointing backward. Two fixing points stop the post tipping.
- Stand an 11-hole beam at the back. Fit its second and third holes onto the back pair of red axle pins.
- Pass a 12-module axle through the back post’s ninth hole, eight hole spacings above its bottom hole. Fit one half bush immediately outside the back post. Slide another to the middle, against the back face of the future yellow beam.
- Slide the end round hole of a yellow 7-hole beam onto the axle, hanging downward one module behind the centre. Add a half bush against its front face. Leave the beam free to rock; the bushes grip the axle, not the beam.
- Fit a half bush one quarter module in front of the centre. Slide a red 7-hole beam onto the axle by its second round hole, one module in front of the centre, then cap its front face with another half bush. This identical beam has a shorter pivot-to-centre distance. Both beams must rock independently.
- Now add the front block pair: two blue long pins upward through the second and fourth holes, then two split pin blocks stacked on them. Adding these after the pendulum keeps its insertion path open.
- Fit two red axle pins pointing forward in the front blocks’ centre cross holes.
- Fit the front 11-hole post onto its two red axle pins while guiding the long axle through its ninth hole. The two posts are eight modules apart, supporting both ends of the pivot axle.
- Add a final half bush just outside the front post. The outside half bushes retain the axle in both directions; the four middle spacers retain the two swinging beams. Check every block and pin is firmly seated.
Play time
Hold the frame level. Move each hanging beam independently and gently no more than 20° sideways, then release without pushing. Observe its return and eventual stopping. Stop if it rubs, sticks or a support moves. Do not invert the beam or add a motor.
Real-world inspiration
Lego, Raspberry and Python Project - Reaction Wheel Inverted Pendulum — Brick Experiment Channel — https://www.youtube.com/watch?v=WObG2LoSEwQ