⚙️ Clutch-Gear 2-Speed Car: step-by-step build
Push the gear lever and a driving ring grabs a different gear: 1st climbs, 2nd races!
Real cars have a gearbox, and now yours does too. The motor turns two gears on the input shaft all the time: a tiny 8 and a 16. On the back axle sit two clutch gears with round holes — they spin freely, so nothing happens… until the driving ring slides into one of them. Push the gear lever one way and the ring grabs the big 24 clutch gear: first gear, slow and strong. Push it the other way and it grabs the 16: second gear, fast! In the middle is neutral — the motor hums and the car stands still.
- Level 3 of 5 (medium)
- About 45 minutes
- 18 steps, 50 parts
- Powered by: Motor
- Series: Gearbox & Drivetrain Cars
What you will learn
- Gearbox: A box of gear pairs where you choose which pair works.
- Clutch & Driving Ring: A part that connects or disconnects a gear from its axle.
- Gear Ratio: Fast or Slow: A big gear turning a small gear makes it spin faster.
- Mounting a Motor: A motor must be pinned tight, or it spins itself instead of your wheels.
- Idler Gears & Direction: A gear in the middle flips the direction back.
- Plugging In: Power Functions: Battery box → (switch or receiver) → motor. Plugs stack like bricks.
- Electric Circuits: Electricity flows from the battery, through the motor, and back.
- Triangles Are Strong: A triangle cannot be squished — a square can.
Build these first
- 🔋 Motor Buggy: Your first car that drives by itself — with a forwards/backwards switch and headlights! (level 3 of 5, about 30 minutes, 20 steps)
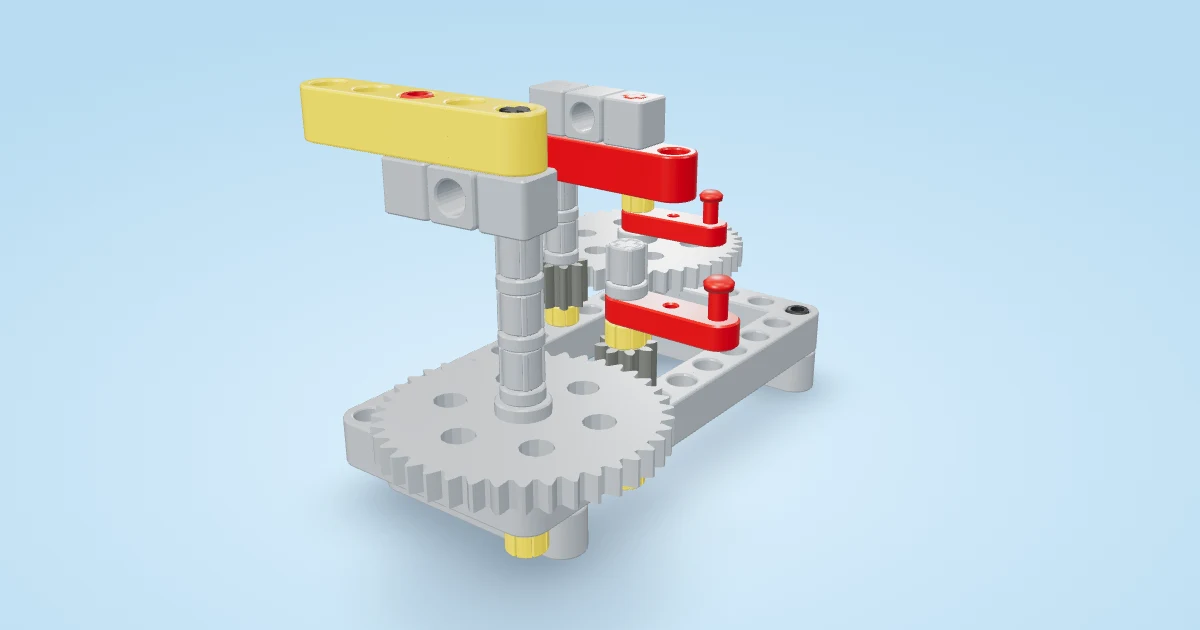 🧪 Gear Speed Lab: Two cranks, two gear pairs: one makes things FAST, one makes things STRONG. (level 2 of 5, about 20 minutes, 13 steps)
Parts you need
- 2 × Beam 15
- 10 × Black pin (grippy)
- 4 × L-beam 3×5
- 2 × Axle 12
- 5 × Half bush
- 4 × Bush
- 1 × Clutch gear (16 teeth)
- 1 × Driving ring
- 1 × Clutch gear (24 teeth)
- 1 × Axle 10
- 1 × Small gear (16 teeth)
- 1 × Tiny gear (8 teeth)
- 1 × Gear shifter
- 4 × Yellow-hub wheel
- 1 × M motor
- 2 × Axle 3
- 3 × Medium gear (24 teeth)
- 1 × AA battery box
- 4 × Blue long pin
- 1 × LED lights
Steps
- Stand a 15-hole beam on its edge — the left chassis rail.
- Front battery post: black pins in holes 3 and 4 of the rail (inside) and a black L-beam pressed onto them, long leg standing up.
- Back battery post: black pins in holes 10 and 11 (inside) and another L-beam, long leg up, corner towards the back.
- Push a 12-long axle through the 2nd hole and the front post's corner (front axle), and another through the 14th hole (back axle), one hole further out on the left. A yellow half bush on the front axle, outside the rail, and a grey bush on the back axle, inside.
- Now build the right side on the table: a second 15-hole rail with black pins in holes 3 and 4 and an L-beam post pressed onto them, long leg up.
- Black pins in holes 10 and 11 of the right rail and the last L-beam post, corner towards the back.
- Slide onto the back axle from the right, next to the bush: the 16 clutch gear, the driving ring, the 24 clutch gear and another bush to lock the stack.
- Input shaft: hold a half bush, a bush and a 16 gear in a row next to the back post, and push a 10-long axle through the 12th hole of the left rail, the post's corner and all three.
- Then another bush and a tiny 8 gear. The 8 meshes with the 24 clutch gear, the 16 with the 16 clutch gear. Clip the gear shifter over the driving ring — its fork sits in the ring's groove.
- Slide the right side onto the car: its posts go over the input shaft and the front axle, the rail over all three axles. Push the right front wheel onto the front axle — it holds the right side on.
- Push black pins into the 5th and 7th holes of the left rail, from the inside. Press the M motor's front onto them: the round holes on each side of its orange output take the pins.
- Push a 3-long axle through the 6th hole into the motor's output, put a 24 gear on it outside the rail and a half bush on the end so the gear can't slide off.
- A short axle through the 9th hole with a half bush on the inside end so it can't fall out, a 24 idler gear outside and another half bush on the outside end.
- A third 24 gear on the input shaft — three gears in a row. Push on the back wheels: the left one keeps the 24 gear from sliding off.
- Push on the left front wheel.
- Lower the AA battery box between the posts. Push blue long pins through the top holes of the two left posts into the bottom holes of its end flaps.
- Two more long pins through the right posts into the flaps. Plug the motor into the battery box.
- Push the two LED lights into the 2nd and 4th holes of the front right post — headlights! Stack their plug on the motor plug.
Play time
Put the lever in the middle (neutral) and switch on: the motor hums but the car stays put. Push the lever into 1st and race a friend up a book ramp. Then try 2nd on the flat. Which gear wins on the ramp? Which on the flat?
Real-world inspiration
Constant-mesh manual gearboxes and the LEGO driving-ring gearboxes explained by Sariel. https://sariel.pl/2009/09/gears-tutorial/ · https://www.youtube.com/watch?v=kznEFrMxZf8 · https://en.wikipedia.org/wiki/Manual_transmission#Constant-mesh
Build next
- ↩️ Reverse-Gear Truck: The motor only spins one way — the gear lever decides forwards or backwards! (level 4 of 5, about 55 minutes, 18 steps)
- 🏁 Three-Speed Car: Two little gearboxes in a row make a big one: crawl, cruise or fly! (level 4 of 5, about 60 minutes, 20 steps)